My Headless Pi Zero W Setup
This is a guide on setting up a Raspberry Pi Zero W as a headless network monitor with the addition of a push button shut down/power up service, a custom message of the day and creating a backup image to expedite new test projects. Most of this will be accomplished through the command line.

This is a guide on setting up a Raspberry Pi Zero W as a headless network monitor with the addition of a push button shut down/power up service, a custom message of the day and creating a backup image to expedite new test projects. Most of this will be accomplished through the command line.
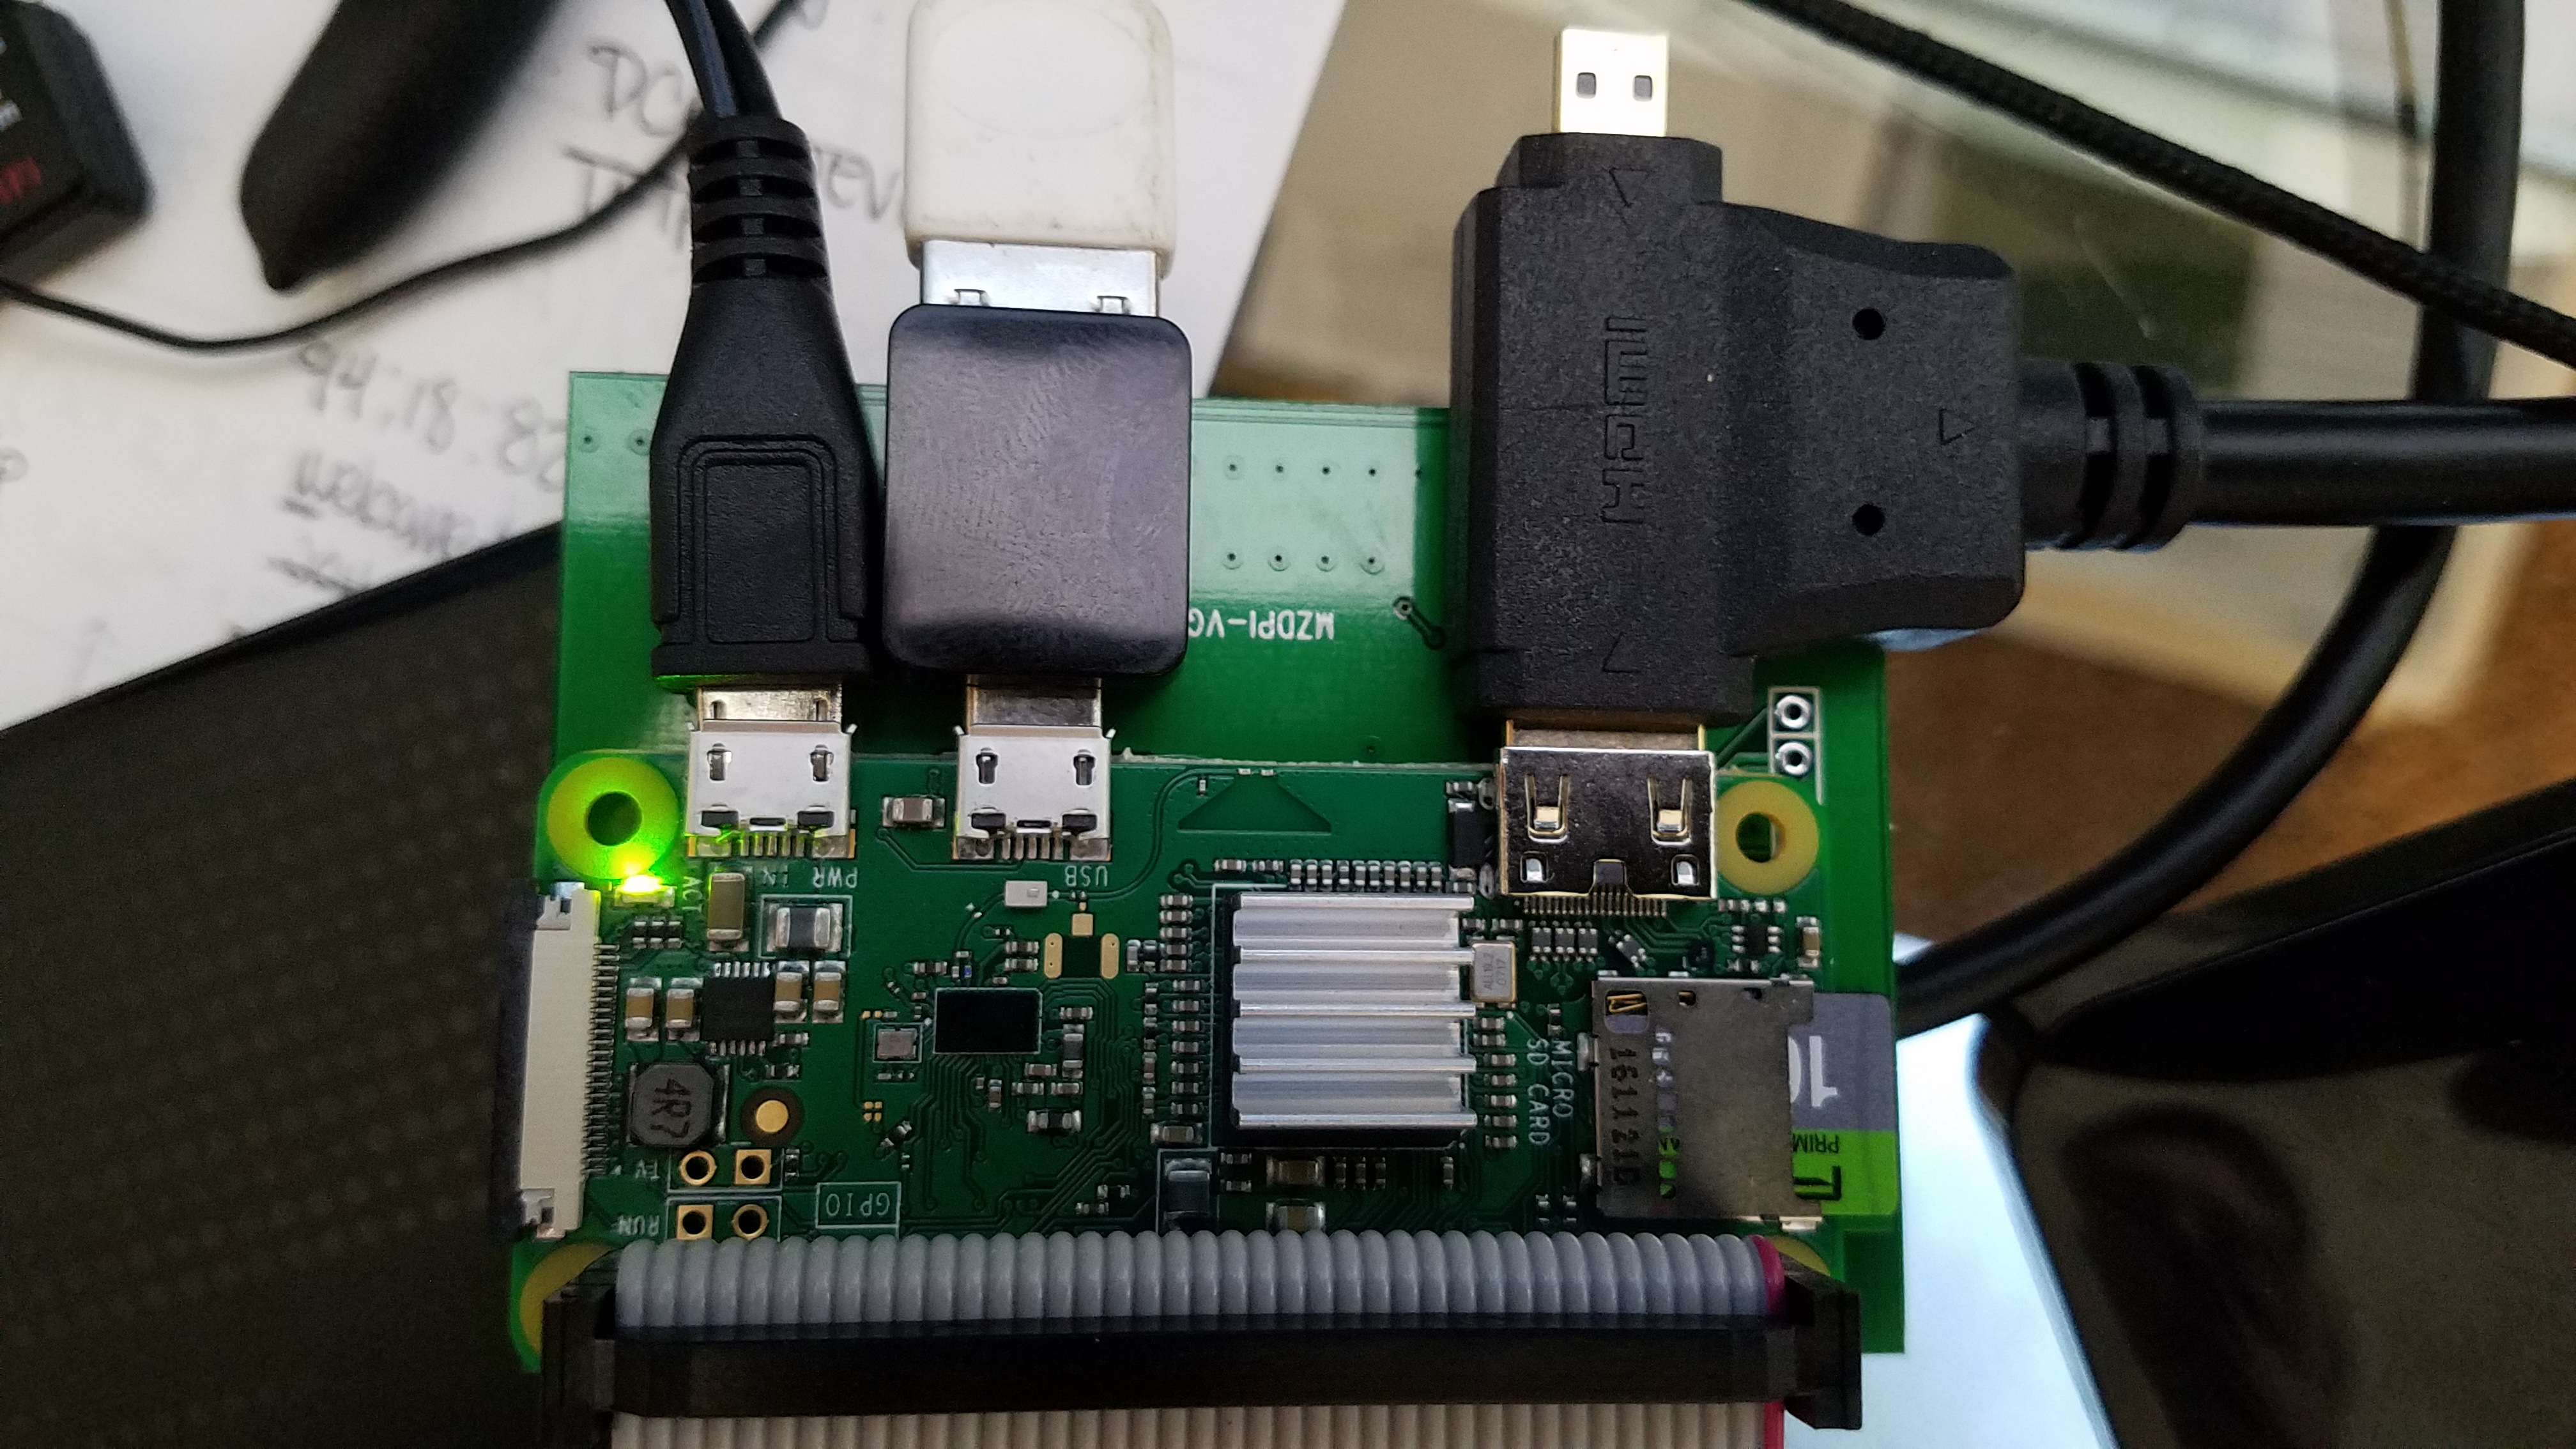 Photo by Mike Throm
If you don't have a spare monitor with an HDMI input, a mini-HDMI to HDMI adapter, a mini-USB to USB adapter, a USB hub, a spare keyboard and an extra mouse this article is for you. If you don't want to disconnect all of those devices from your other equipment in order to use the graphical NOOBS installer this article is for you.
This guide was derived using a combination of the following:
- https://www.raspberrypi.org/documentation/installation/
- https://www.raspberrypi.org/forums/viewtopic.php?f=28&t=191061
- https://raspberrypi.stackexchange.com/questions/37920/how-do-i-set-up-networking-wifi-static-ip-address#37921
- https://davidmaitland.me/2015/12/raspberry-pi-zero-headless-setup/
- https://slippytrumpet.io/posts/raspberry-pi-zero-w-setup/
- https://www.losant.com/blog/getting-started-with-the-raspberry-pi-zero-w-without-a-monitor
- https://www.networkworld.com/article/2225683/cisco-subnet/cisco-subnet-raspberry-pi-as-a-network-monitoring-node.html
- http://www.instructables.com/id/GitPi-A-Private-Git-Server-on-Raspberry-Pi/
- https://www.hackster.io/shiva-siddharth/service-to-safe-shutdown-headless-raspberry-pi-boards-708269
- https://ownyourbits.com/2017/04/05/customize-your-motd-login-message-in-debian-and-ubuntu/
- http://www.slashroot.in/linux-iptraf-and-iftop-monitor-and-analyse-network-traffic-and-bandwidth
I started writing this setup from a laptop running Windows 10 developer preview and then booted into a Live Kali Linux environment because after 45 minutes of trying different opensource software to access the extended SDcard partitions with no success, I chose to use Kali. Everything here can be accomplished in an environment other than Windows if you read the referenced guides noted above. Once you've setup SSH functionality and a static IP you can finish the install from a Windows machine.
- I have BitVise installed on my Windows machine so I can run a terminal to interface with the Pi once everything is up and running.
- I am using Etcher to write a full image to the SD card.
- I am booting in Kali to complete setup after Etcher writes to the SD card. Windows does not have a native way to mount/read/write to Ext4 partitions and the 3rd party applications I tried did not work for me on my setup. This whole process will be easier done in Kali.
- I will be using Raspbian Stretch Lite because I don't want or need much in the way of GUI overhead.
Project Components
- Raspberry Pi Zero W
- 16+ GB MicroSD Card
- 5.1v, 1.0A MicroUSB Power Supply
- Windows Laptop
- Bootable Kali Linux USB drive
- Raspbian Stretch Lite
- Internet Access, Wi-Fi network passwords and such ...
- 4 Pronged push button Switch
- soldering iron, solder and wires
- patience
One of the best features about the Raspberry Pi is the ability to clone your SD card and have a reference image you can re-install at a later date. This makes it pretty easy to switch back and forth between builds that serve different purposes. That means I can clone this image and use it for my next install, saving time. Here's how I did it ...
Step One:
Write the base image to the SD card
- Download and extract Raspbian Stretch Lite.
- Use Etcher to write the image to the SD card.
- Eject the SD card when complete.
- Boot into Kali
- Alternatively, just write to the SD card from Kali
Step Two:
Prep the base image to play nice on our network
- Mount the Raspbian image in Kali to make some connectivity happen. Open Terminal and type
fdisk -lto list all mounted partitions on your machine. Mount the 2 partitions using this two-step processmkdir /media/picard1thenmount /dev/"WHATEVER YOUR DEV TREE IS" /media/picard1"WHATEVER YOUR DEV TREE IS" will probably be mmcblk0p1 and mmcblk0p2 if you used the microSD adapter in a SD slot on your laptop. Repeat the process using /picard2 and the other part of your devtree. - Change localization options by using the file manager to navigate to
etc/wpa_supplicant/wpa_supplicant.confin the "X.0 GB Volume that you mounted" and proceed to edit the Wi-Fi configuration file by usingsudo nano /etc/wpa_supplicant/wpa_supplicant.conf
Get used to typing sudo nano when you want to edit text files in the console environment
- Make your file look like so
country=US
ctrl_interface=DIR=/var/run/wpa_supplicant GROUP=netdev
update_config=1
Network={
ssid="YOUR WI-FI NETWORK NAME"
psk="YOUR PASSWORD"
}
Naturally if you live in Great Britain or France use "GB or FR" as this is is for the Wi-Fi network setup. See here for more information on language localizations. You can configure keyboard, language and time options later ... but first we need to establish remote connectivity.
If you want to try DHCP (router automagic IP addressing)
-
Edit the network interface file
/etc/network/interfacesto look like so:
# interfaces(5) file used by ifup(8) and ifdown(8)
# Please note that this file is written to be used with dhcpcd
# For static IP, consult /etc/dhcpcd.conf and 'man dhcpcd.conf'
# Include files from /etc/network/interfaces.d: source-directory /etc/network/interfaces.d auto wlan0 allow-hotplug wlan0 iface wlan0 inet manual wpa-conf /etc/wpa_supplicant/wpa_supplicant.conf -
Try using
auto wlan0
allow-hotplug wlan0
iface wlan0 inet static
address xxx.168.1.20 # IP for the Zero
netmask xxx.255.255.0 # Subnet mask ...
gateway xxx.168.1.1 # Your router IP
wpa-conf /etc/wpa_supplicant/wpa_supplicant.conf
... if your network is locked down and you know what the IP address for the device will be. Save and close using [CTRL] X and Y. For more information on setting up DHCP and Static IP addressing check this out. -
Enable SSH
Browse to the "Boot" partition in File Manager and use Text Editor to save an empty file in UTF-8 named "ssh". Now it's time to make sure this thing automagically logs in and starts all the processes. Unmount the SD card and plug it into your Pi. Connect the powersupply (the furthest slot to the right when the SD card is on the left) and wait 45-90 seconds (once the green blinky is steady.)
Step Three:
Connect and setup localization
- Open terminal and SSH into your Pi using
ssh pi@raspberrypi.localThe default password israspberry. Login to your router and see what IP address your router served up. Then usessh pi@123.456.789.012from a terminal window using your IP address. You can use a Windows machine with a SSH client at this point, I found it easier to leave Kali up and running until I know this build is what I want.
Once our Pi is connected to the network and we have logged in using SSH we can make note of the MAC address, add it to the DHCP reservation list in our router and create a dedicated IP address.
Note that there's no change to the default user/password in the steps above. This allows us to SSH to our new Pi on our network quickly without having to pull up the router dialog in a browser to figure out which device is which.
Change the "root" and then the "pi" passwords if you feel the need, leaving the default "pi" user name alone. sudo passwd root and then passwd.
It's easier to use sudo raspi-config to change boot method, localization settings, et al. Make sure you change your localization settings first so your keypresses for your password register the next time you SSH into your Pi. You can also enable camera and GPIO support here.
Step Four:
Install base libraries and updates
Install python, git and make sure the OS and support files are up to date. Note the "-y" simply confirms you want to do this operation so you don't get a prompt asking if you really want to install these things.
sudo apt-get install python-pip -y
sudo apt-git -y
sudo apt-get install wget git-core -y
sudo apt-get update -y
sudo apt-get upgrade -y
sudo apt-get dist-upgrade -y
sudo reboot
If you don't want to hang around and wait to go to the next step, create a little script that uses && to string the steps together dependent on the success of the previous one. In this case you would type: sudo apt-get install python-pip -y && sudo apt-git -y && sudo apt-get install wget git-core -y && sudo apt-get update -y && sudo apt-get upgrade -y && sudo apt-get dist-upgrade -y && sudo reboot. Take a break and monitor progress in the terminal window.
Step Five:
Install networking functionality
SSH back into your Pi and ...
-
Enable IPv6 if needed/wanted using:
sudo modprobe ipv6
Make IPv6 permanent with:sudo nano /etc/modules. Scroll down to the end and typeipv6on its own line using [CTRL] + X to save. Read all about your network settings with:ifconfig -
Install and configure Uncomplicated Firewall (UFW)
sudo apt-get install ufw
Start simple and enable SSH/HTTP/HTTPS (your needs and wants may vary and you this is a basic template ...)
sudo ufw default deny incoming
sudo ufw allow 80
sudo ufw allow 443
sudo ufw allow 22
Make sure it's working ...
sudo ufw enable
sudo ufw status
If you don't want to set your Pi up as a Network Monitoring Node, go ahead and clone your disk image at this point.
I want to set up a base Pi Zero W image as a Network Monitoring Node according to the instructions found in this article. It will serve as a good base image and still leave room to test scripts, projects, functionalities and the like.
SSH back into your Pi using the pi@xxx.xxx.xxx.xxx syntax. Remember we changed the passwords for "root and user" but we did not change the user names.
-
Install MTR to combine the functionality of the 'traceroute' and 'ping' programs in a single network diagnostic tool.
sudo apt-get install mtr -y
sudo mtr [ip.add.res.s]- to test it -
Install TCPdump in case we feel like capturing some packets ...
sudo apt-get install tcpdump -y
check to see if it works by:
sudo tcpdump -i wlan0 -s0 -n ip6
or
sudo tcpdump -i eth0 -s0 port 80
(use the network adapter that is active on your Pi, eth0 is default ethernet, wlan0 is onboard wi-fi) -
Install NetCat because it's handy ...
sudo apt-get install netcat -y
test it by setting up a listner on one machine's 6667 port using IPv6
sudo netcat -6 -l 6667
From another device on your network use telnet 6667 in a ssh session and try having a chat ... -
Use IPerf to test end-to-end performance over the bitwaves
sudo apt-get install iperf -y
Set up the server using:sudo iperf -s
Set up a client to test using:sudo iperf -c [ser.ver.iph.ere] -
Use NMAP to scan your port traffic
sudo apt-get install nmap -y
Perform a simple TCP port scan with:sudo nmap -sT [tar.get.ip0] -
NetHogs shows us the applications sending the most traffic
sudo apt-get install nethogs -y
Look who's talking with:sudo nethogs -
Iftop gives us another view of traffic on our lanes
sudo apt-get install iftop -y
Try it out with:sudo iftop -i wlan0
Shut your Pi down with sudo shutdown -h now
Step Six:
Add a power on/off button
 Photo by Mike Throm
Sid over at hackster.io devised a way to use a pushbutton to call up a service to safely shut the Pi down without having to SSH into it. This little trick will turn your Pi on also! Now you'll have a headless Pi with a on/off switch.
- Install Git Server if you didn't do so above using
sudo apt-get install git - Boot your Pi and clone the git
git clone https://github.com/shivasiddharth/pi-shut - Install it
sudo chmod +x /home/pi/pi-shut/installer.sh sudo /home/pi/pi-shut/installer.sh - Wire the push button so the top right lead plugs into the top 3rd hole from the left and bottom left lead plugs into the bottom 3rd hole from the left (your SD card will be on the left and facing up)
- Start the service with
sudo systemctl start on-off-pushbutton.service - Wait a minute or so for it to register ...
- Push the button and verify your connection is lost in Terminal and the green blinky goes out.
- Remove the SD card, get out the soldering iron and have fun ... I advise finding some 5 or 6mm pushbuttons with long leads so you can fold one down and run it through the GPIO header. I had to get creative and use some twisted 28 gauge vape coil wire to make it work.
- Insert your SD card, boot and SSH in terminal to confirm your Pi is up and running.
- Push the button you just installed to verify Terminal loses connection and the green blinky goes out.
Step Seven:
Create a custom message of the day
Logging into our headless Pi via SSH will result in a boring line of legalese called the message of the day (MOTD). I chose to change that up by using this method that will show me some details about my device when I login, not legalese.
Alternatively you can follow nacoparker's write up here, the Mewbies writeup here, the writeup on the Raspberry Pi forum and this nice concise version by daroude. I highly suggest reading all three of these writeups if you are not familiar with the Linux filesystem, commands and scripting syntax.
Once you've got the baseline setup, shut your Pi down and prepare for cloning operations.
Step Eight:
Make a clone of your disk image you just spent so much time creating
After the green blinky on the Pi goes dark, unplug it and pull the microSD card.
Put the card in your adapter of choice and plug it into your Kali machine.
Type sudo fdisk -l into terminal
Note the "Disk /dev" notation of your Raspbian image. In this example mine is "/dev/mmcblk0" and it reports having a size of 14.8 GB.
Now use the "dd" command to write the image to your primary partition or any other drive with enough free space that you identified using sudo fdisk -l In this example I will write to "/dev/sda2" that I have mounted as "win10". sudo dd if=/dev/mmcblk0 of=/media/win10/netpi.img
Forgot all the stuff you have loaded on your Pi?
List of installed applications with: dpkg --get-selections | grep -v deinstall
Alternatively you can try using PiBakery or you can use NOOBS if you have the HDMI adapter, a micro USB to USB adapter and a USB hub with a keyboard and mouse attached to get your initial setup. Use the graphical install to set everything up, launch a terminal, make the above mentioned changes and then clone your image.
At the end of the day setting up new hardware takes a minute (or a few days worth of spare time ...) and it's always best to read lots of articles and make an informed decision that fits your unique situation before you commit. Once you get things working in a way that suits you, make a clone so you have a reference point.
There more efficient ways to do this so take from this guide what works for you.
Good luck and happy computing.